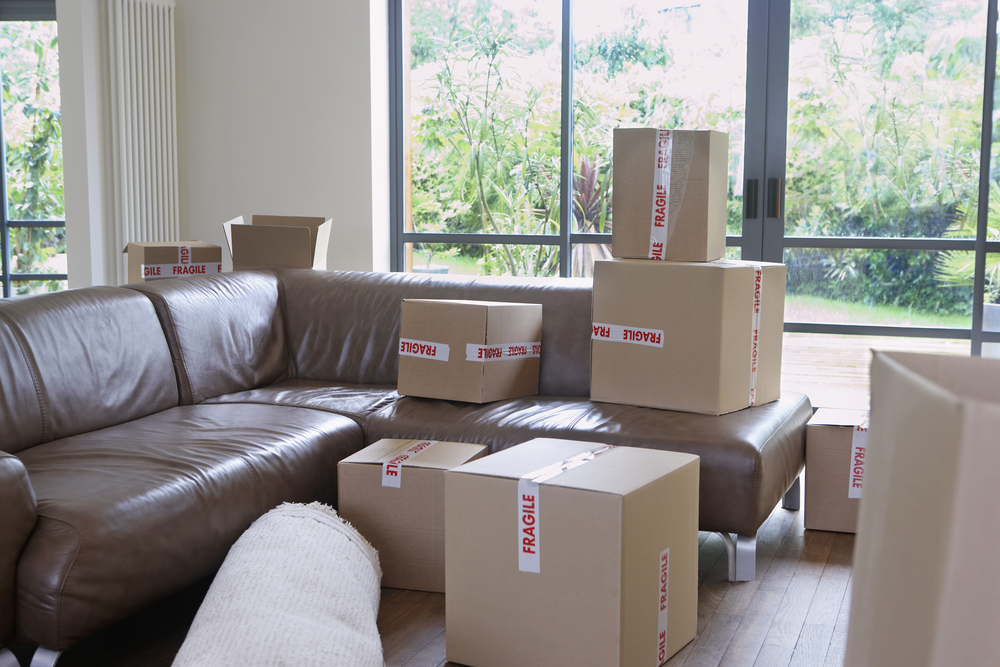
It is important to make a moving checklist which to follow at the moving day. One it will make the last minute moving atmosphere easier and two, the chance to forget something will be smaller. However, you may find some difficulties in the checklist if you don`t follow it properly. It all depends on the arrangement of the columns and the objects in it, but if you make a column with objects from the bathroom – you can come across some difficulties with the identification of items mentioned as “hygiene accessories” or “big towels”. That`s why it is essential to have a couple of photos of every item or a big photo that collects all the items in their old arrangement. Attach the photographic materials to your moving checklist and you will always have an easier orientation among the numerous items from all the rooms.
Advantages:
– Book a removal supplier and ask them to make the inventory with photographic materials. This is the best way to prove the condition of your belongings before the move. If a crew from the company makes the packing of your items – they have the responsibility for the safety of your belongings, but if you do it by yourself, the company is not liable for possible damages of your belongings. In all cases, the best way to have a visual confirmation of the condition of your objects before the move is via photographic materials in the checklist.
– The photos in the checklist also give you a better visual orientation while looking at the moving checklist. Only a glimpse is enough to remember which removal box contains which items, as well as where are located the biggest ones. What better way to supervise easier all the activities during the loading and unloading of the moving van! The photos will also help you when unboxing your possessions in the new house and during the arrangement in their new places.
– You can sketch the floor plan of the new house and attach a couple of photos as well. Give the floor plan sketching to the movers and they will know where exactly to unload the big heavy objects and boxes. Include all the important measurements such as height and width of the front wall, the location of the stairways, the width of the corridors, etc., to facilitate even more your helpers.
If you make the inventory sheet with photographic materials by yourself, take a look at some quick advices and tips:
– Arrange the columns by the size of the objects and begin with the biggest ones, which are usually the heaviest ones too. They may turn quite tricky for photographing, especially if you want to capture the big fridge in the frame of just one photo. If necessary – take a couple of photos from all the sides of the big items, while another great tip is to attach a ruler to the object while taking the photos. It is the best way to provide your movers with the perfect orientation about the scale and size of the big objects.
– Photograph the smallest objects and capture numerous items in their original arrangement, while they still sit on their shelves or in the cabinets.
– Compile the checklist by rooms and organize the photographic materials by rooms. Take photos of the bathroom from the most important angles, then in the kitchen, in the dining room and throughout the house. Try to capture only objects that you are about to relocate in the new house.


