Inspecting adhesive joints can prove to be a tricky challenge, because once the joint is made it’s difficult to determine how the adhesive has been applied.
There are some adhesive applications, installing vehicle windscreens for example, where the quality of the bond is crucial to safety, so being able to verify that it’s been done correctly is important.
Technology to the Rescue
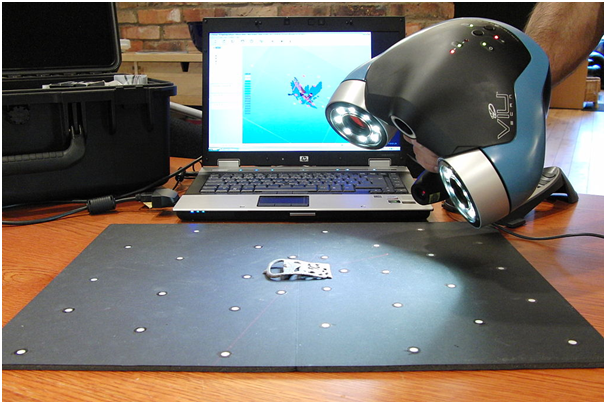
Thanks to the latest technology it’s now possible to use 3D techniques to measure the volume and accuracy of adhesive applications, making for a more reliable joint. This works by projecting a laser line and measuring its position with an image sensor. This allows the operator to accurately determine the position and amount of adhesive applied in three dimensions.
It’s used in circumstances where the adhesive is used to hold two objects together and/or to form a seal against the elements. In these situations, when applying metal bonding adhesive for example, the amount used needs to be accurately controlled.
While a conventional 2D visual inspection by machine or human can check the spread of adhesive, it can’t measure the volume. It’s also difficult for a 2D inspection to be accurate when the colour of the adhesive is the same as that of the material being bonded – especially if both are black. Of course different colours of adhesive are available from suppliers like www.ct1ltd.com/en and others to suit different tasks.
Robot Production
Increasingly manufacturing tasks are carried out by robots and whilst this makes for greater accuracy in most tasks, adhesive application is tricky to get right. This is especially true where items on the production line vary, such as different models of car for example.
Using 3D measurement unique elements of the component can be identified and used to instruct the robot how to apply the adhesive. This can also be inspected as it’s applied to make sure the position and amount used is correct. Sensors can be attached to the robot itself or in a fixed position at the workstation.
The major advantage of being able to measure accurately in this way is that it ensures even quality. However, it also reduces wastage of material, and it can make for more flexibility in production as the sensors can be retrained to cope with new products and changes to design.


